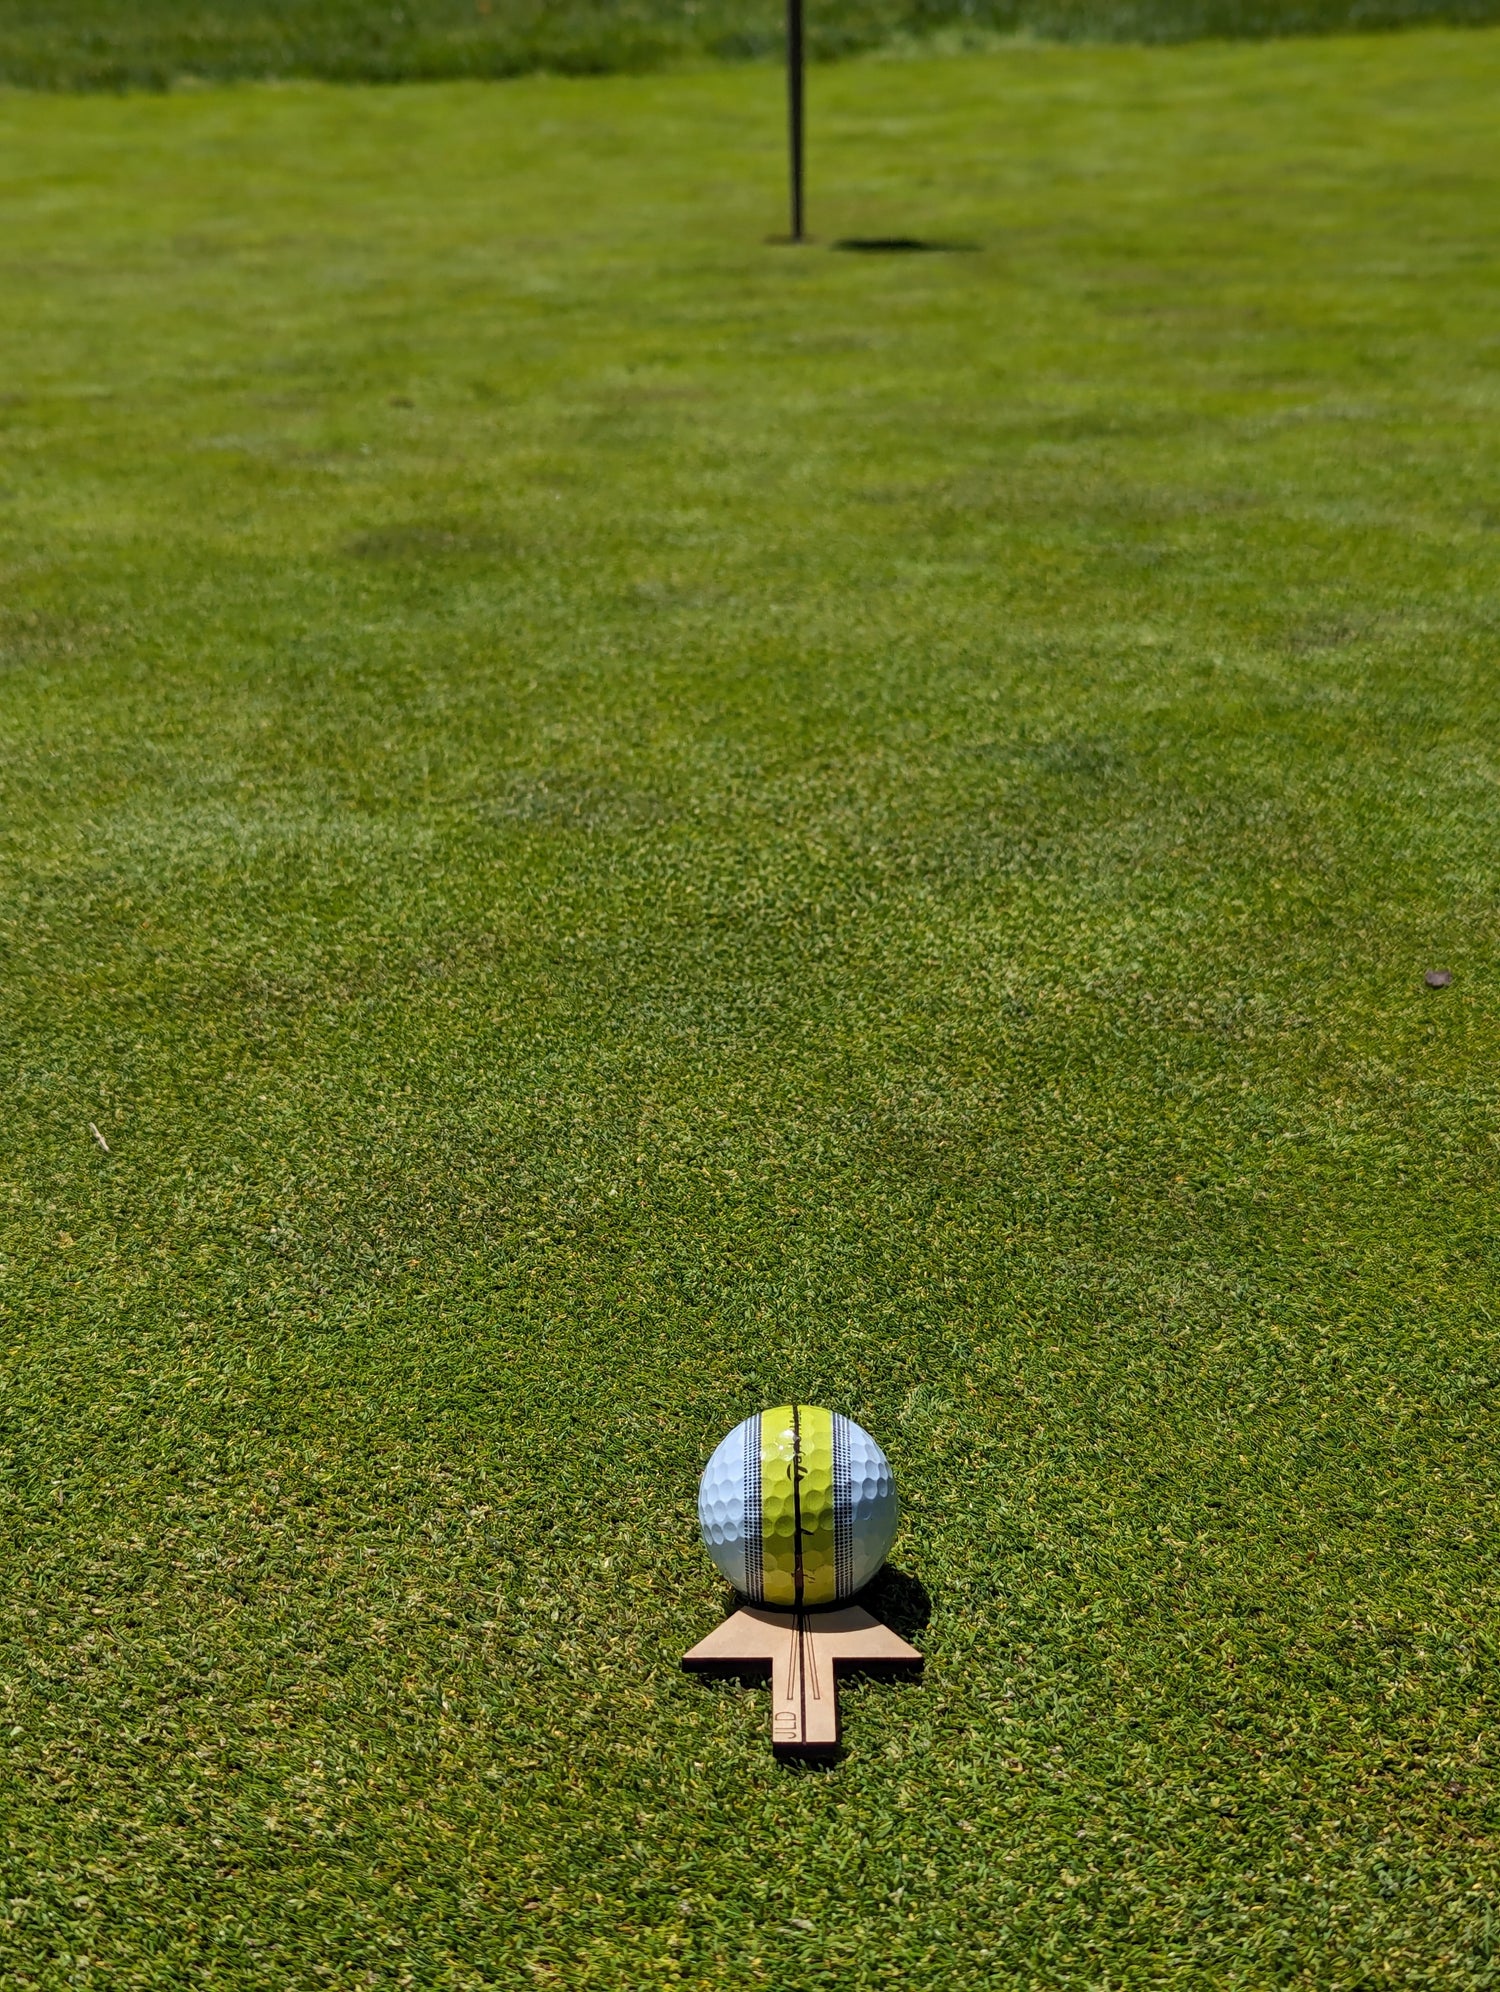
How to Use the Make It Marker - Flat Putts

Mark your golf ball with the Make It Marker.
I aim the Make It Marker in the general direction of the hole initially.

Align dark center line with center of hole. Read the putt from behind Make It Marker.
I take a few steps back and squat down. I align the Make It Marker dark center line with center of the hole using my putter. I find it easiest to aim it quickly using my putter while a few steps back for a better vantage point. This prevents you from going back up to the Make It Marker to adjust with your hand and then stepping back to confirm.

Place golf ball down, align line on ball with center line on Make It Marker.
When you first place the Make It Marker down, align the dark center line with the line on the golf ball.

Twist golf ball so that line on ball is aimed to adjust for the break of the putt.
For flat putts, the two angled lines on the Make It Marker are at 3 degrees. I use these as "boundary lines" on relatively "flat" putts so that I don't play too much break. Meaning, don't twist the golf ball so that the golf ball line is aimed outside of the boundary lines for flat putts.

Remove Make It Marker, align line on putter with line on golf ball.
You want the line on your putter to be a continuation of the line on the golf ball that you aimed correctly.
Make the putt!
In the event you miss the putt (it happens) you now know how much break you played on a relatively flat putt since you aimed the dark center line on the Make It Marker directly at the hole. This gives you a framework for the next hole to now play less or more break on "flat putts" using the angled 3 degree lines as reference.
Final Thought
I compare the Make It Marker to a hammer and nail. Sure you can hit a nail with a hammer on your first day using the hammer, but you're not efficient compared to a carpenter who can drive a nail in one swing. Make It Marker takes a bit to get used to it but once you get the hang of it you'll start to see a lot more putts drop!